This article will talk you through how to onboard a myenergi Zappi charger to the Clenergy EV back office.
-
The myenergi Zappi charge point is configured using the myenergi portal. Please visit the link below and register before attempting to complete the onboarding process.
- Using the manufacturers instructions, power up the charge point and connect to a suitable network using the built-in screen and buttons on the charge point.
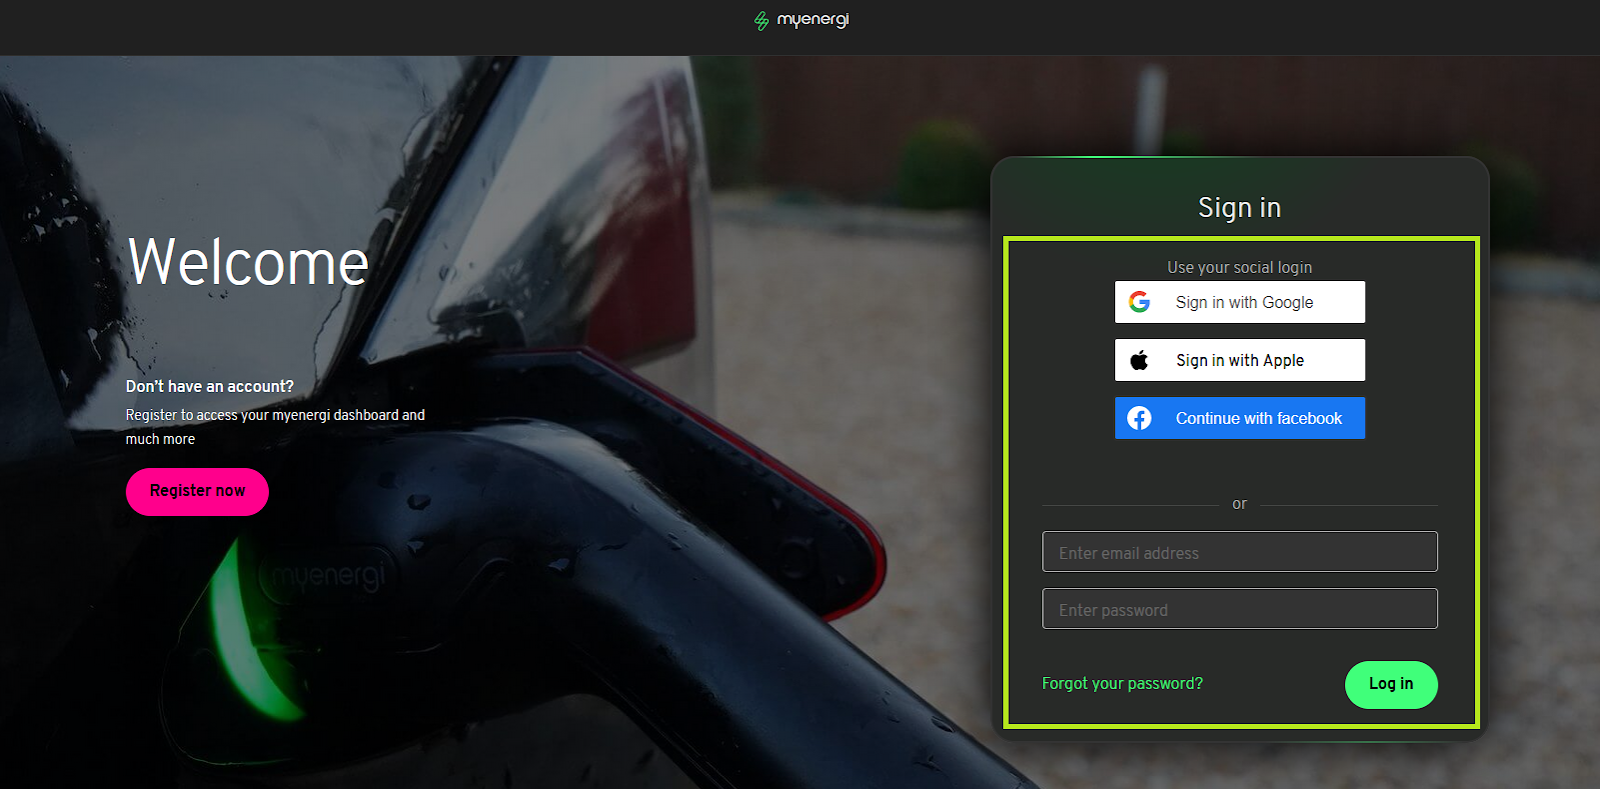
- Once registered, log in at https://myaccount.myenergi.com/login with the relevant credentials to access the portal.
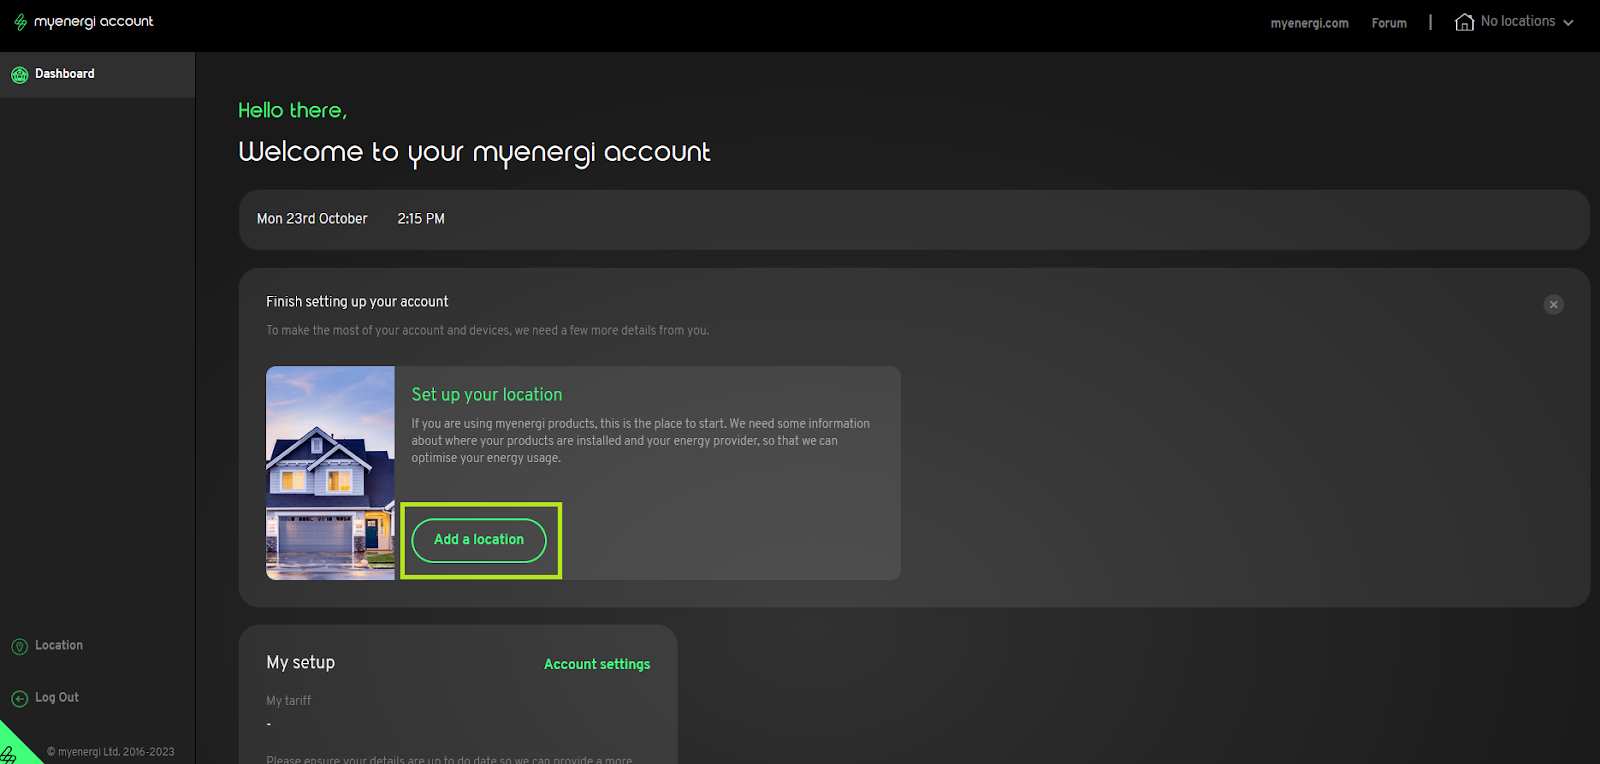
- On the portal home screen select Add a location.
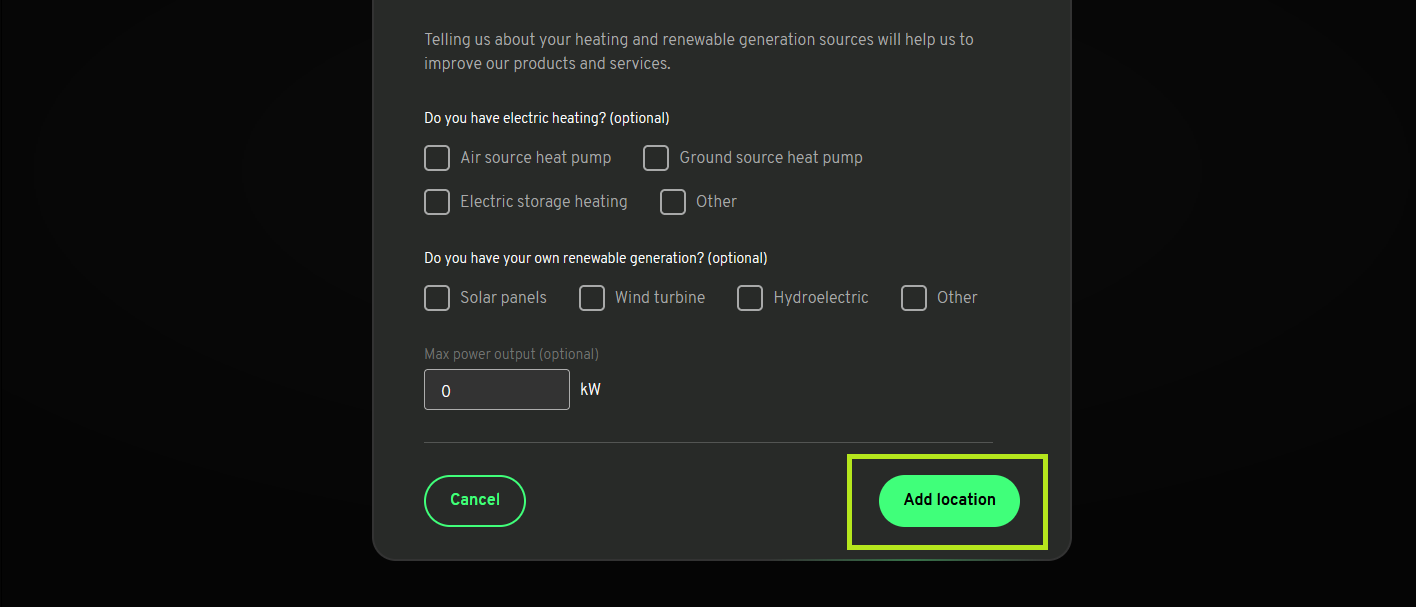
- Complete the fields as required for your installation and select Add location once complete.
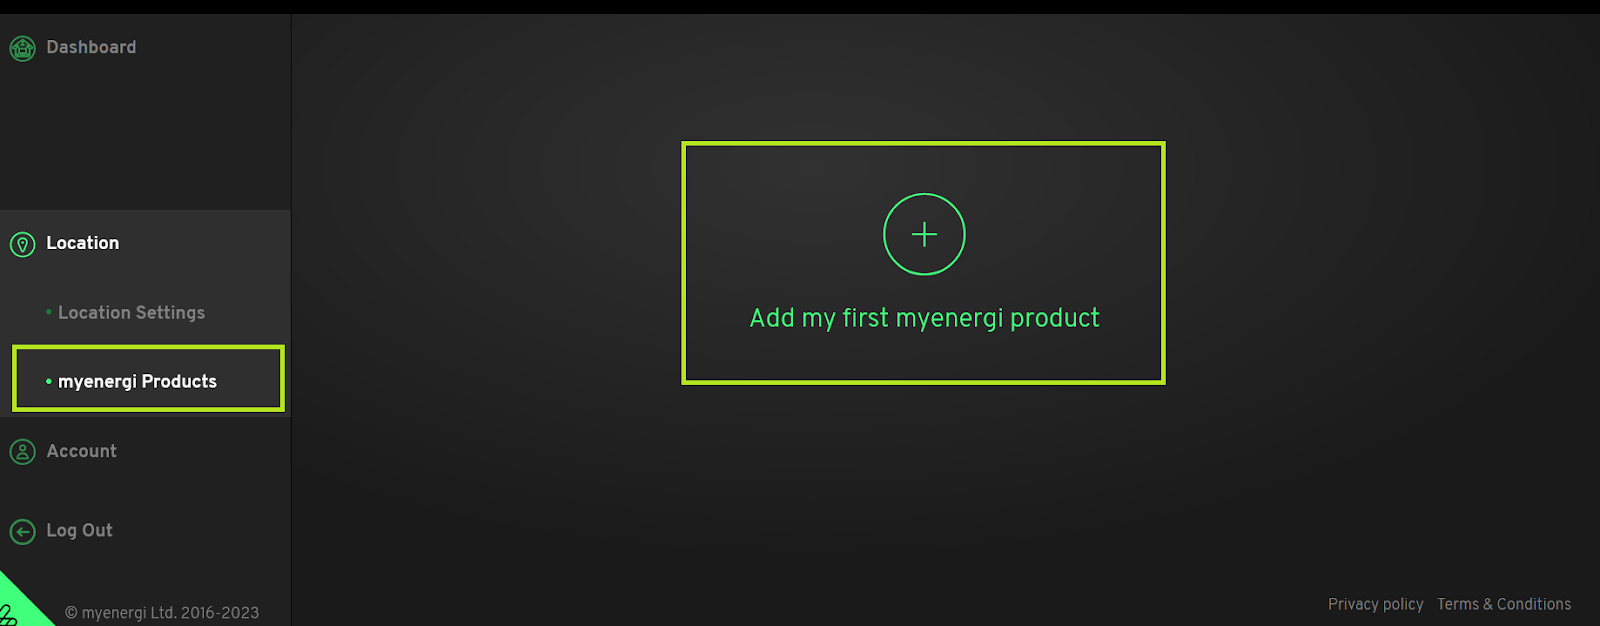
- After creating a location, select myenergi products from the left-hand-side menu then select Add my first myenergi product.
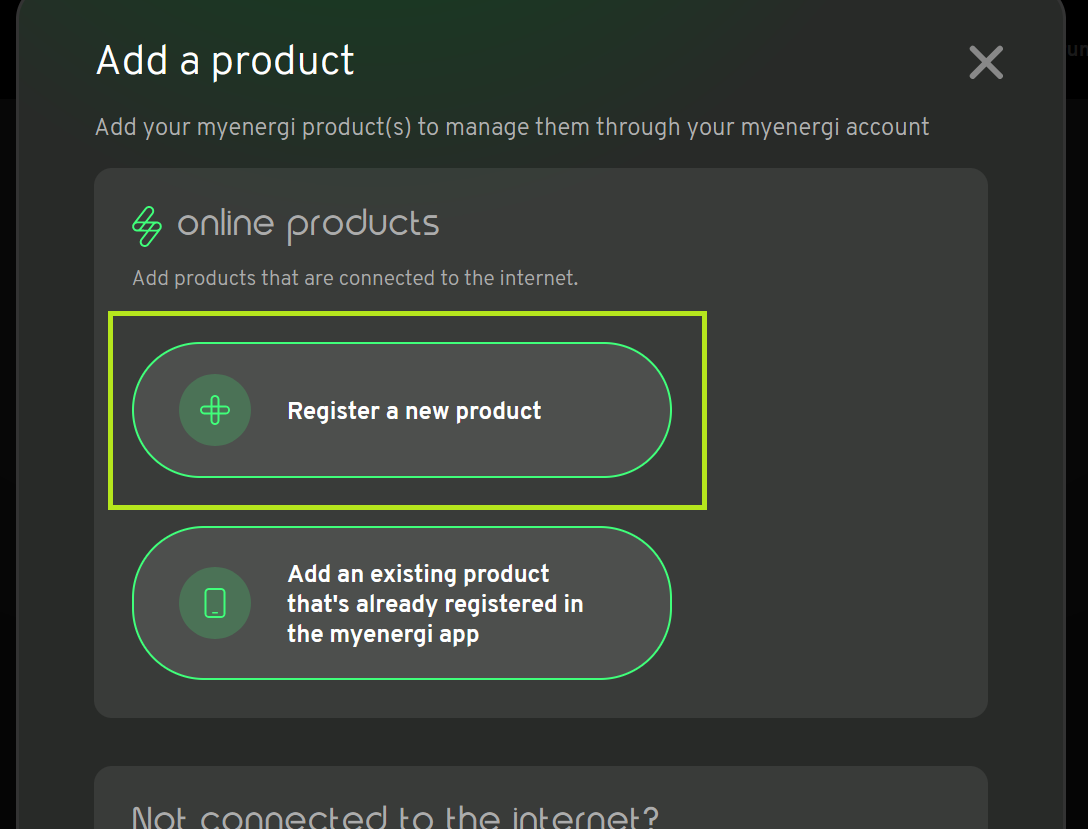
- Select Register a new product then enter the Serial Number and Registration code of the charge point. Please note: These can be found on the charge point information menu screen.
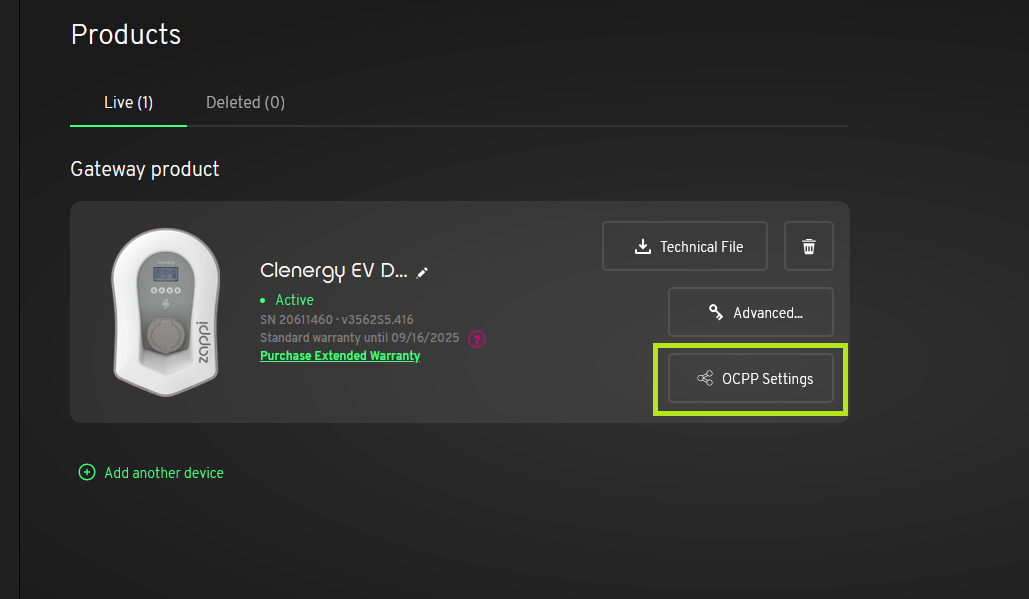
- Once the charge point has been registered, select OCPP Settings.
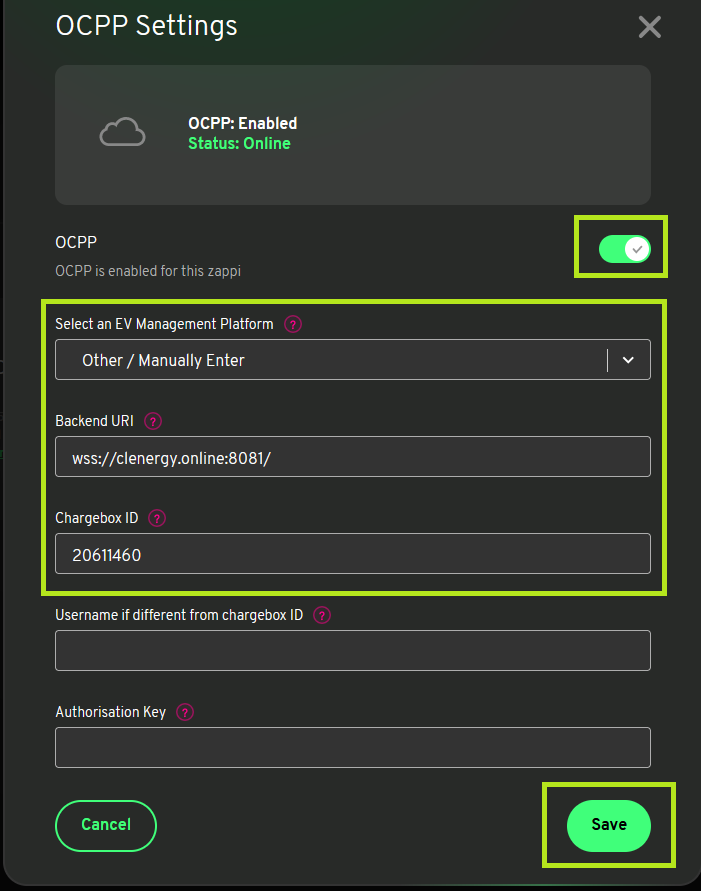
- Enable OCPP by toggling the highlighted option to the On position then select Other/Manually Enter from the Select an EV Management Platform drop-down menu.. Enter the following into the Backend URL field: wss://clenergy.online:8081/. Leave the Chargebox ID field as its default value (this should match the charge point serial number) then select Save.
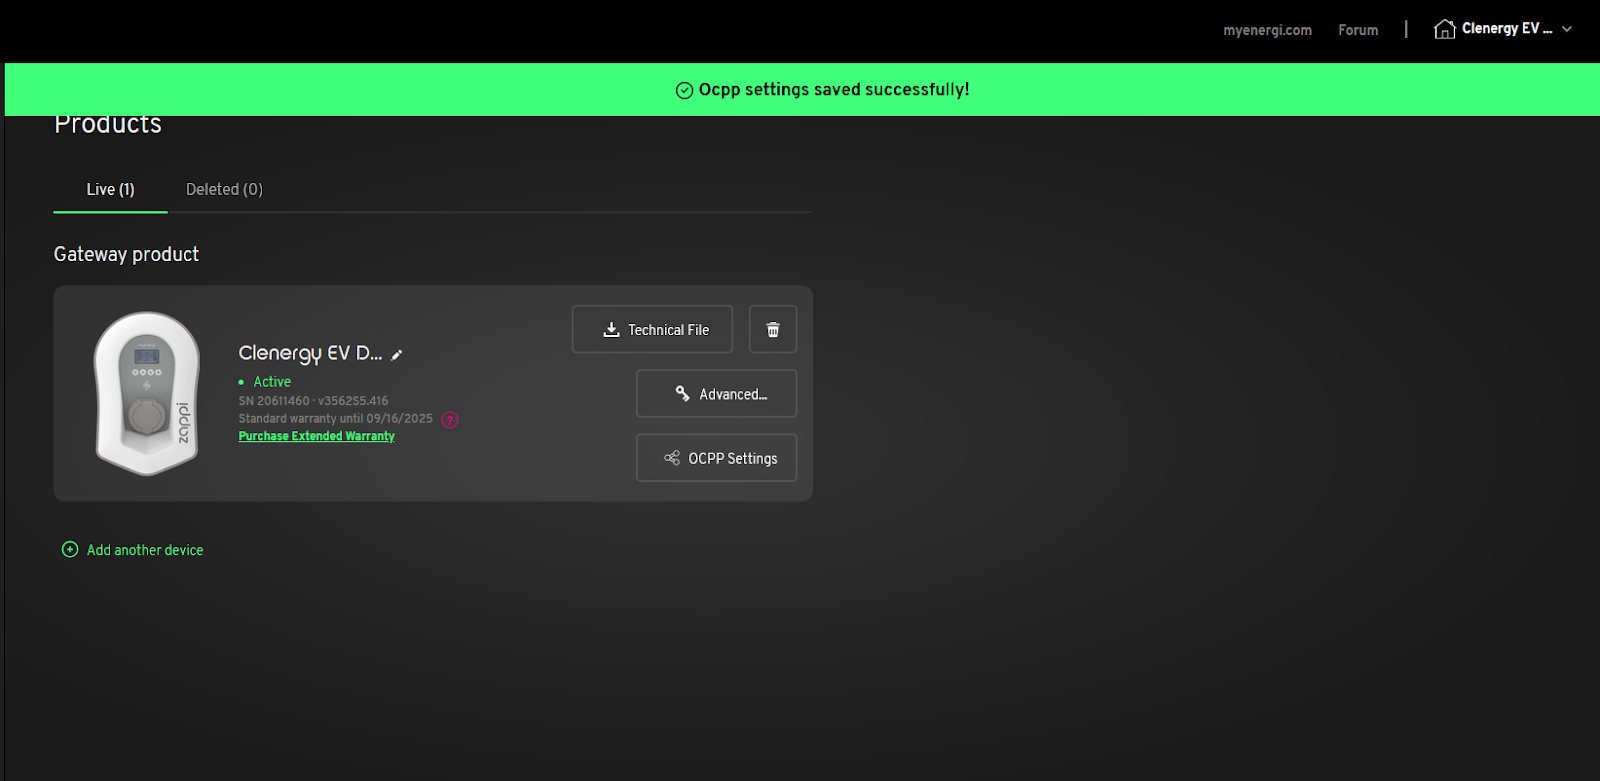
- A confirmation message will be displayed indicating that the OCPP settings have been saved successfully. Please note: Commercial Mode will need to be enabled to complete the onboarding process. This will need to be configured by Clenergy EV once the charge point is connected to the platform.