- Download and install the Zaptec app for your mobile device from the relevant app store.
Zaptec App - App Store - Register and request service level permission at http://www.portal.zaptec.com before beginning the installation process. Please note: It is recommended to complete this several days beforehand in order to ensure your user permissions are accepted and in place.
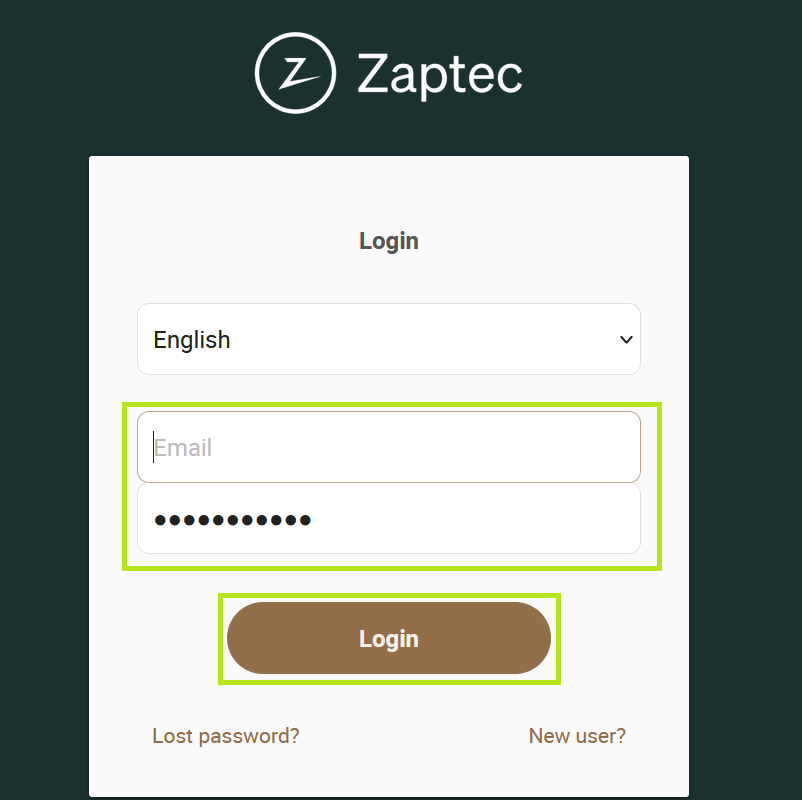
- Login to the Zaptec portal using your credentials.
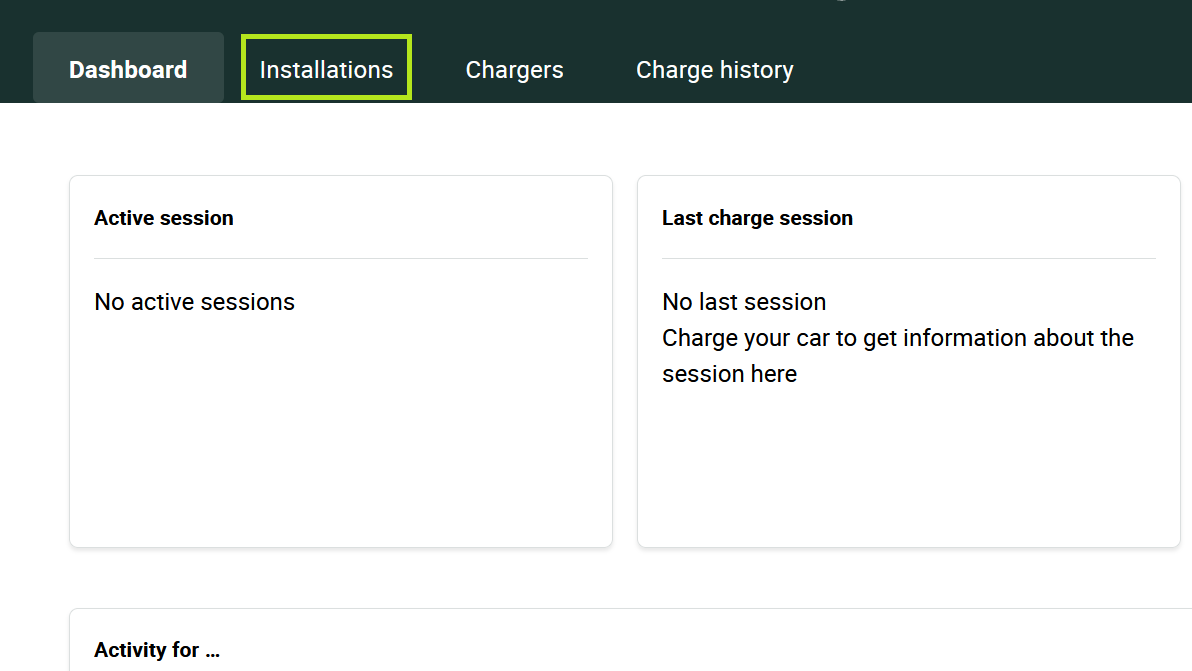
- Select Installations from the menu.
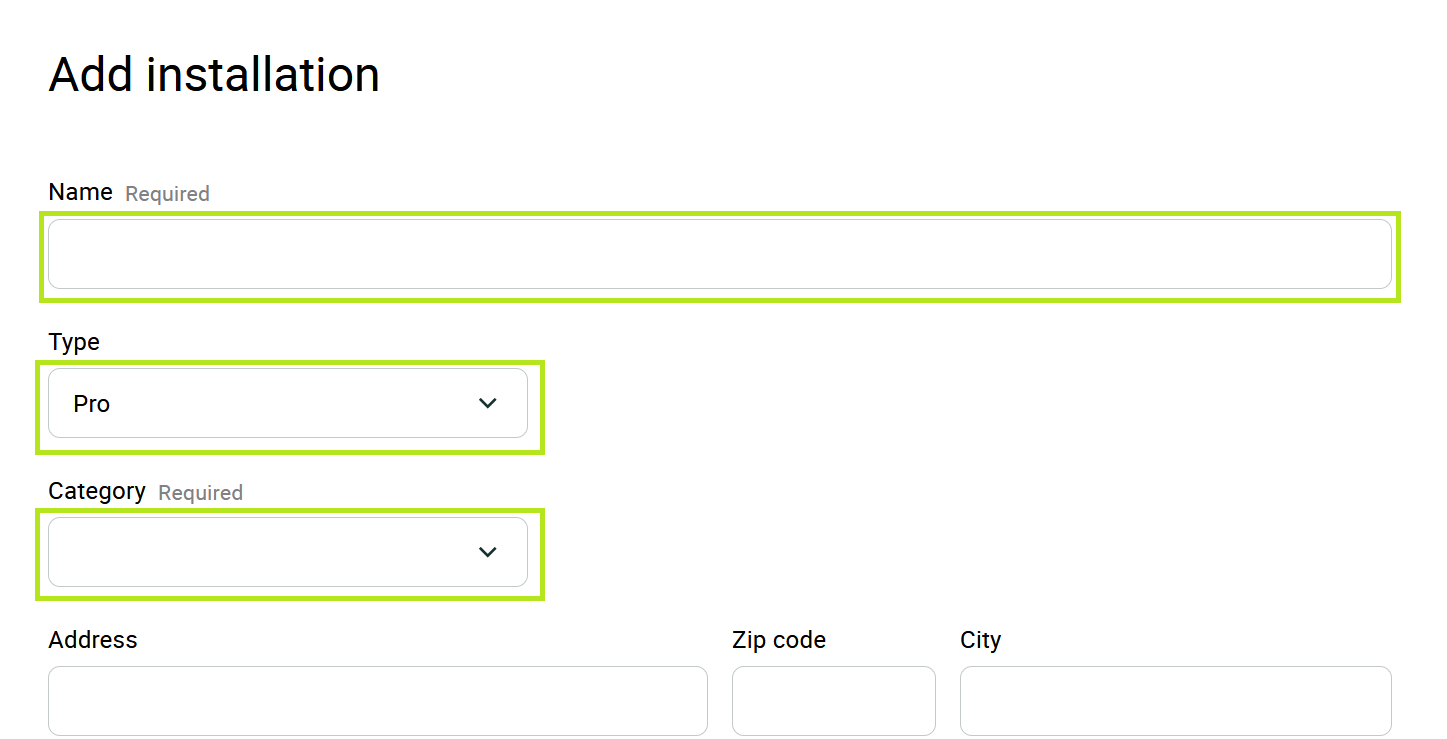
- Select +Add installation.
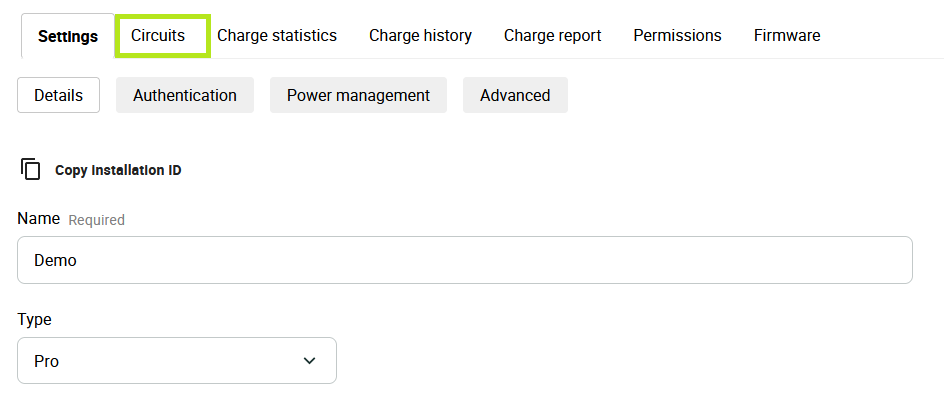
- Complete the relevant fields and select the installation type for your charger from the drop-down menu.
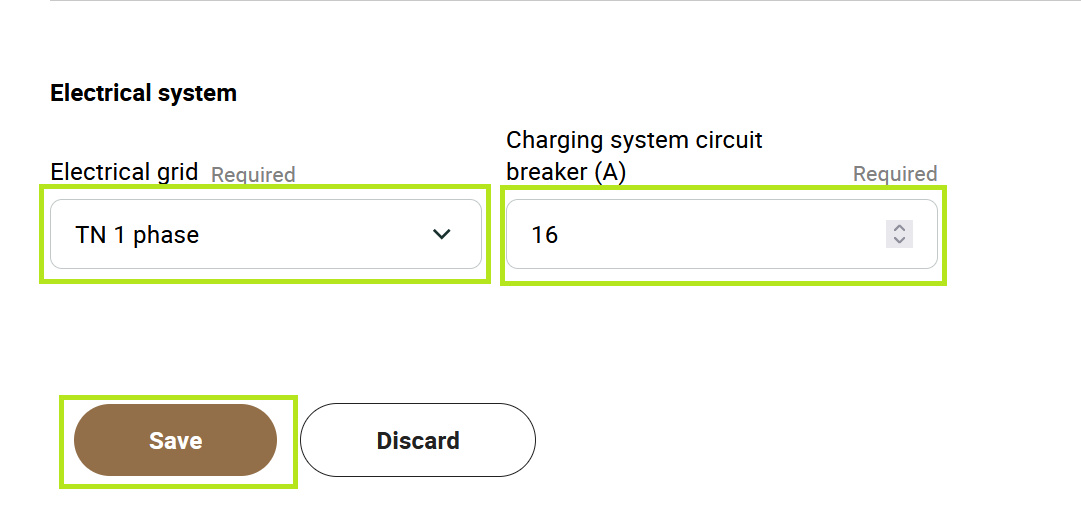
- Configure the Electrical system using the relevant fields and select Save to proceed.
- Select Circuits.
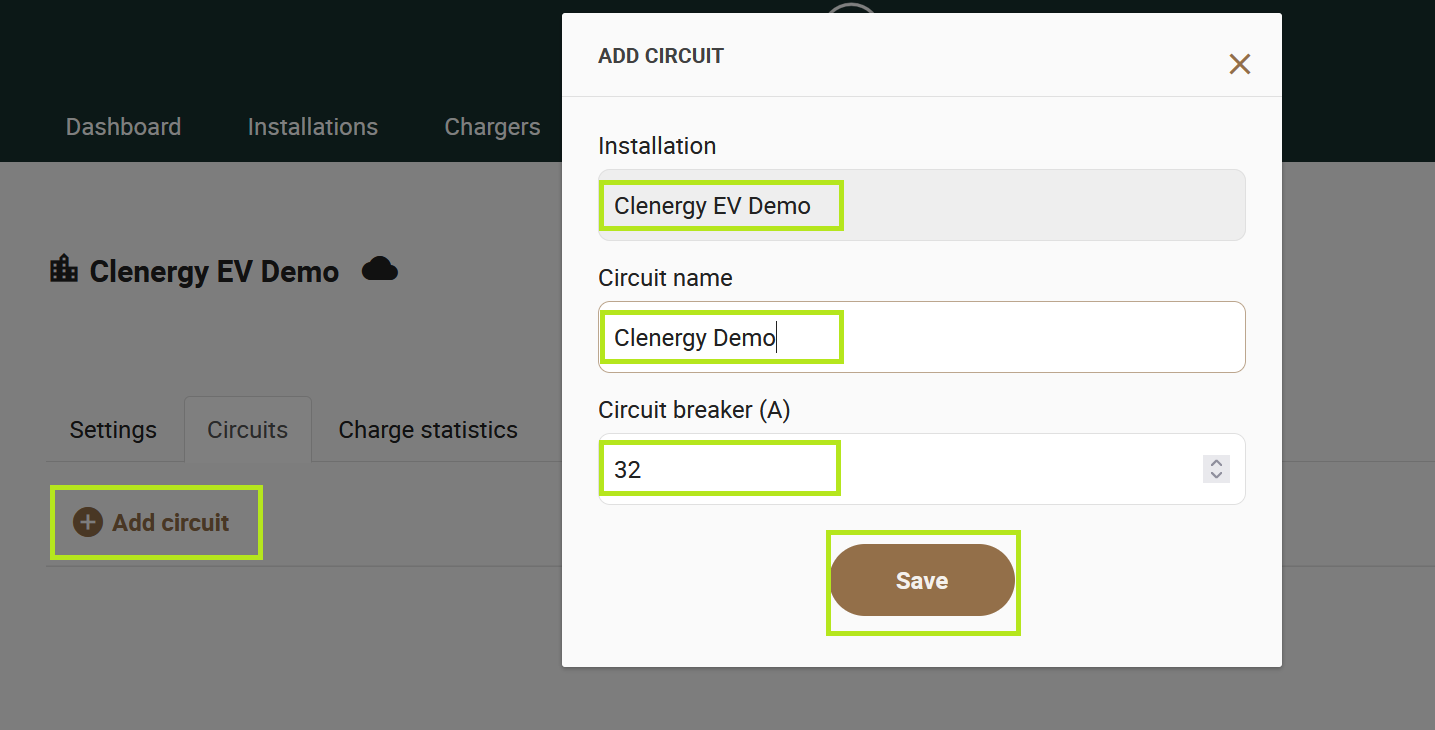
- Select Add circuit, complete the relevant fields and select Save.
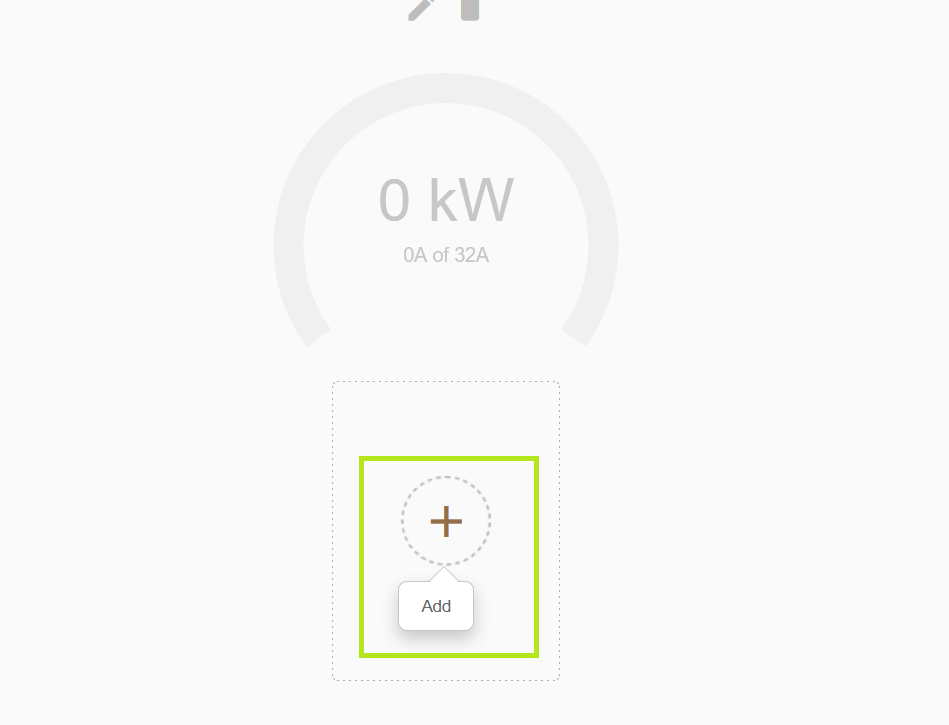
- Scroll down and select the Add icon.
- Enter the Serial number of the charger, name the charger (6 digit Clenergy EV CPID number), select Activate and then Add to proceed.
- Scroll down to the OCPP Settings menu and enter the following link: wss://clenergy.online:8081/xxxxx (xxxxxx being the chargepoint serial number). Select Save at the bottom of the screen.

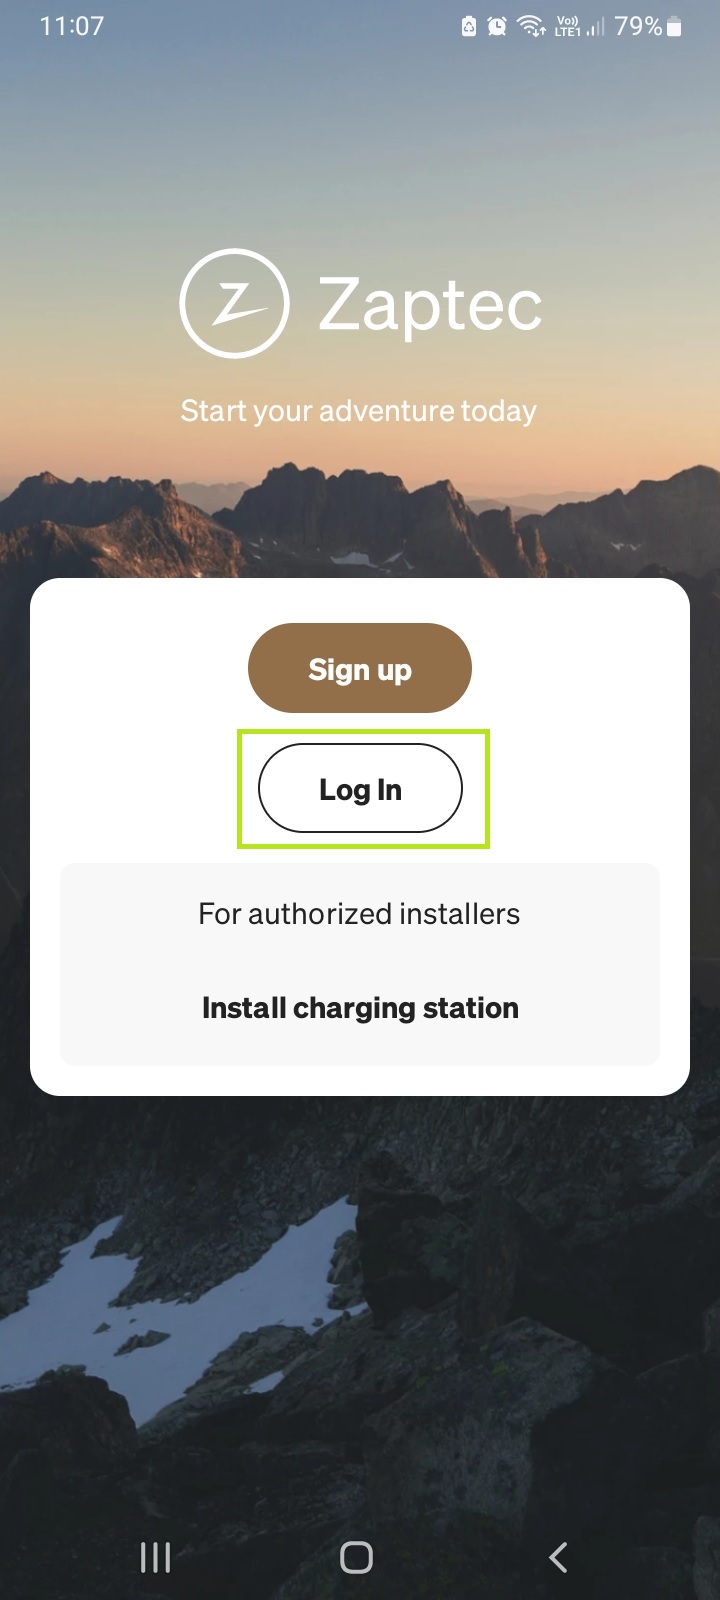
- Login to the Zaptec app on your mobile device.
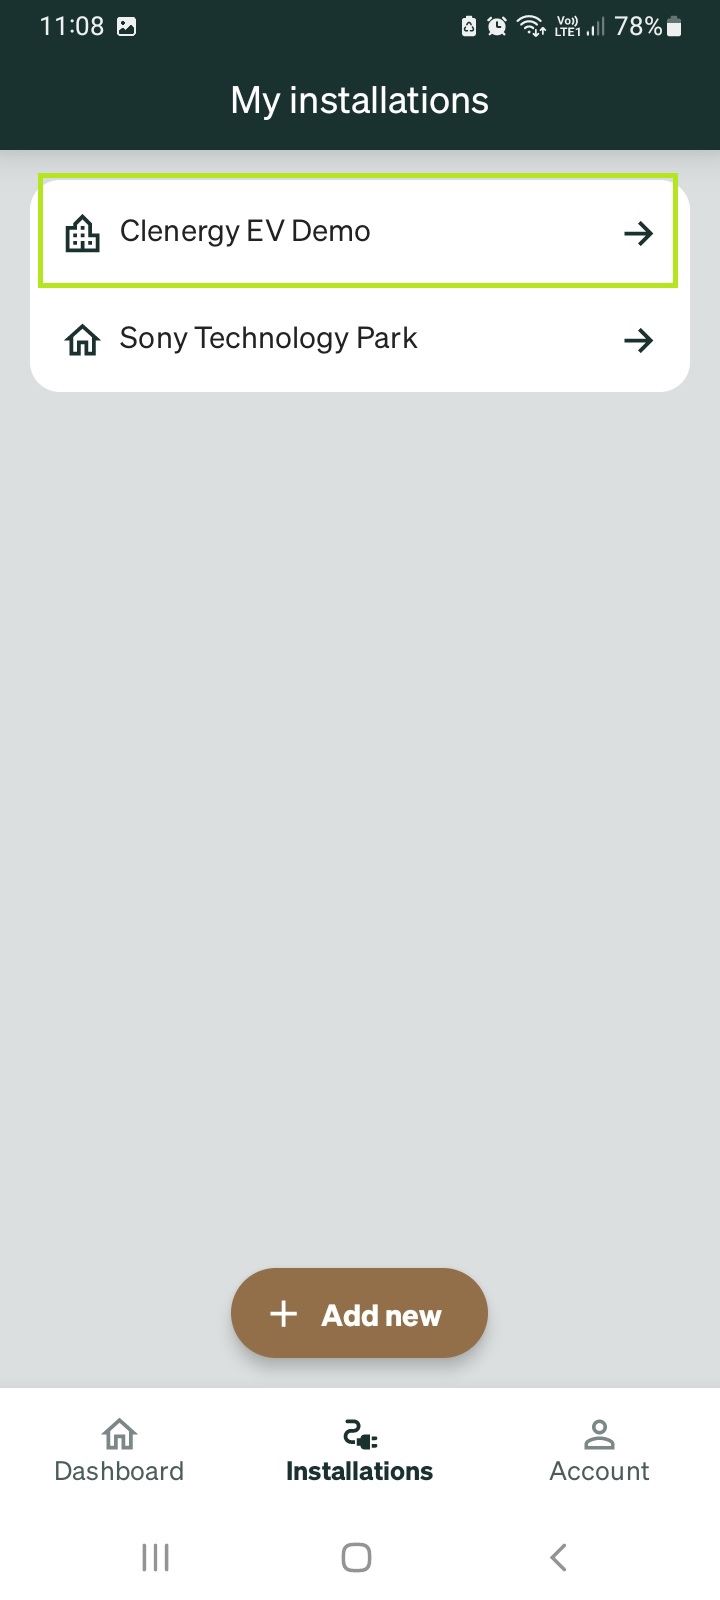
- Select Installations to proceed.
- Select the installation from the My installations menu as named earlier in the Zaptec portal.
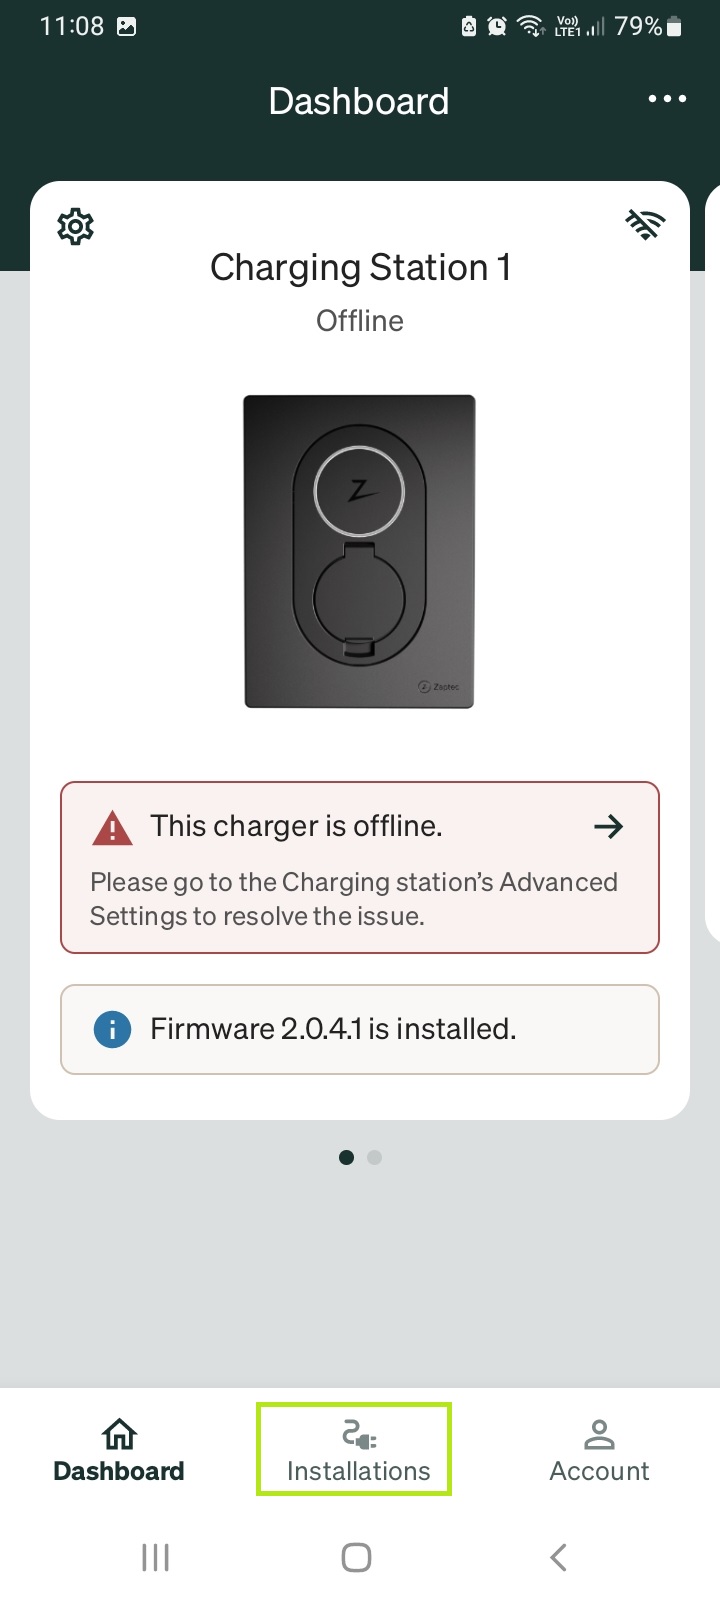
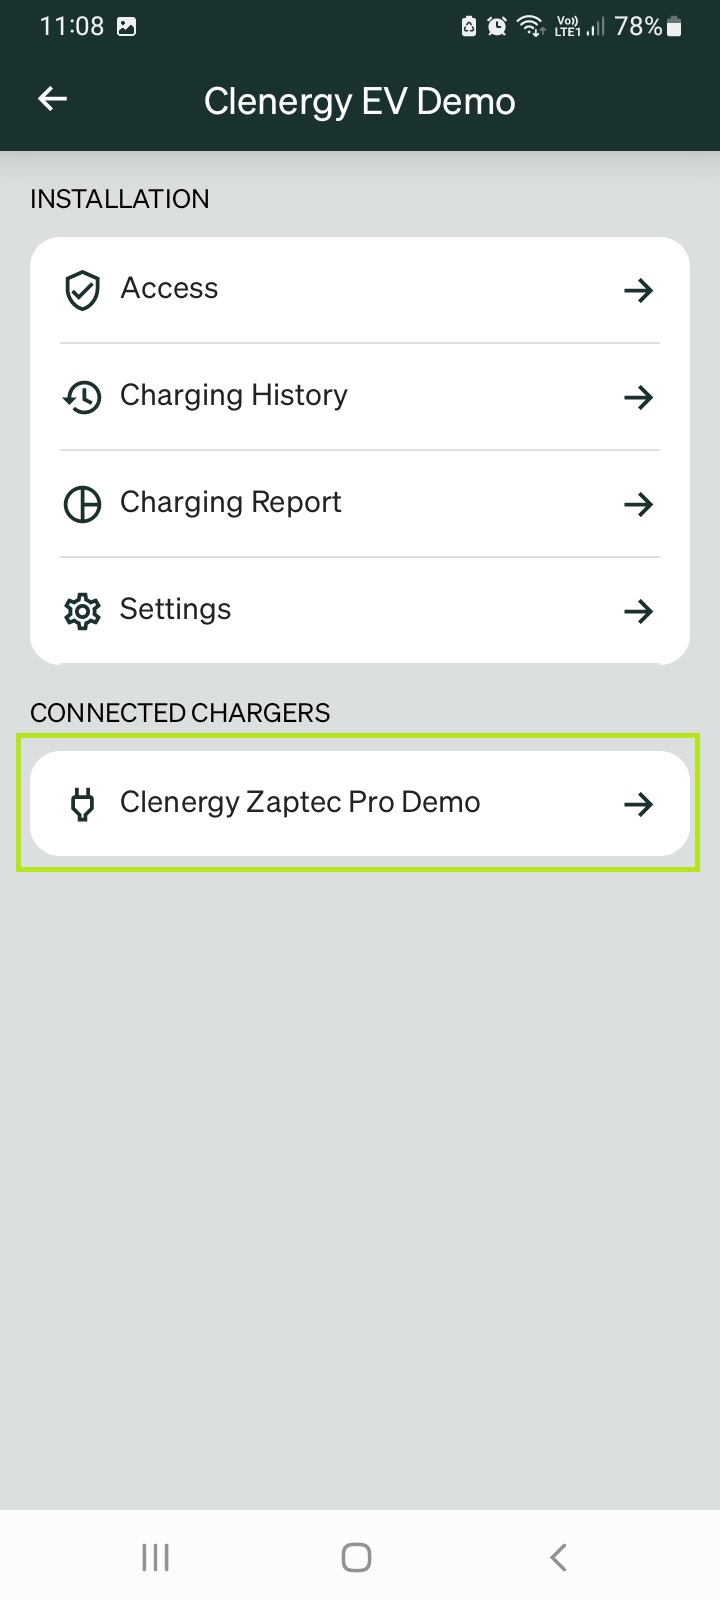
- Select the charger you wish to configure from the Connected Chargers list.
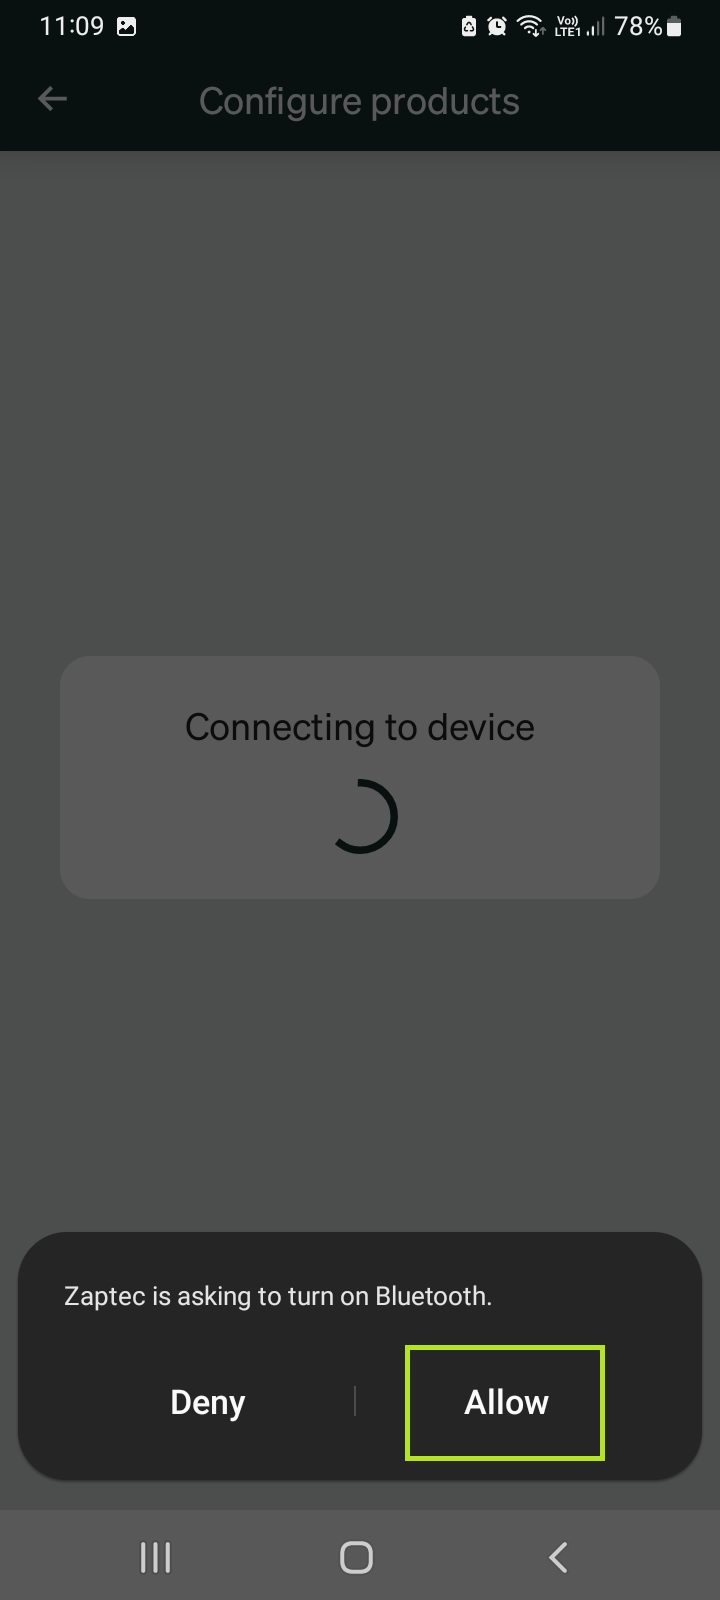
- Allow your device to connect to the chargepoint via Bluetooth.
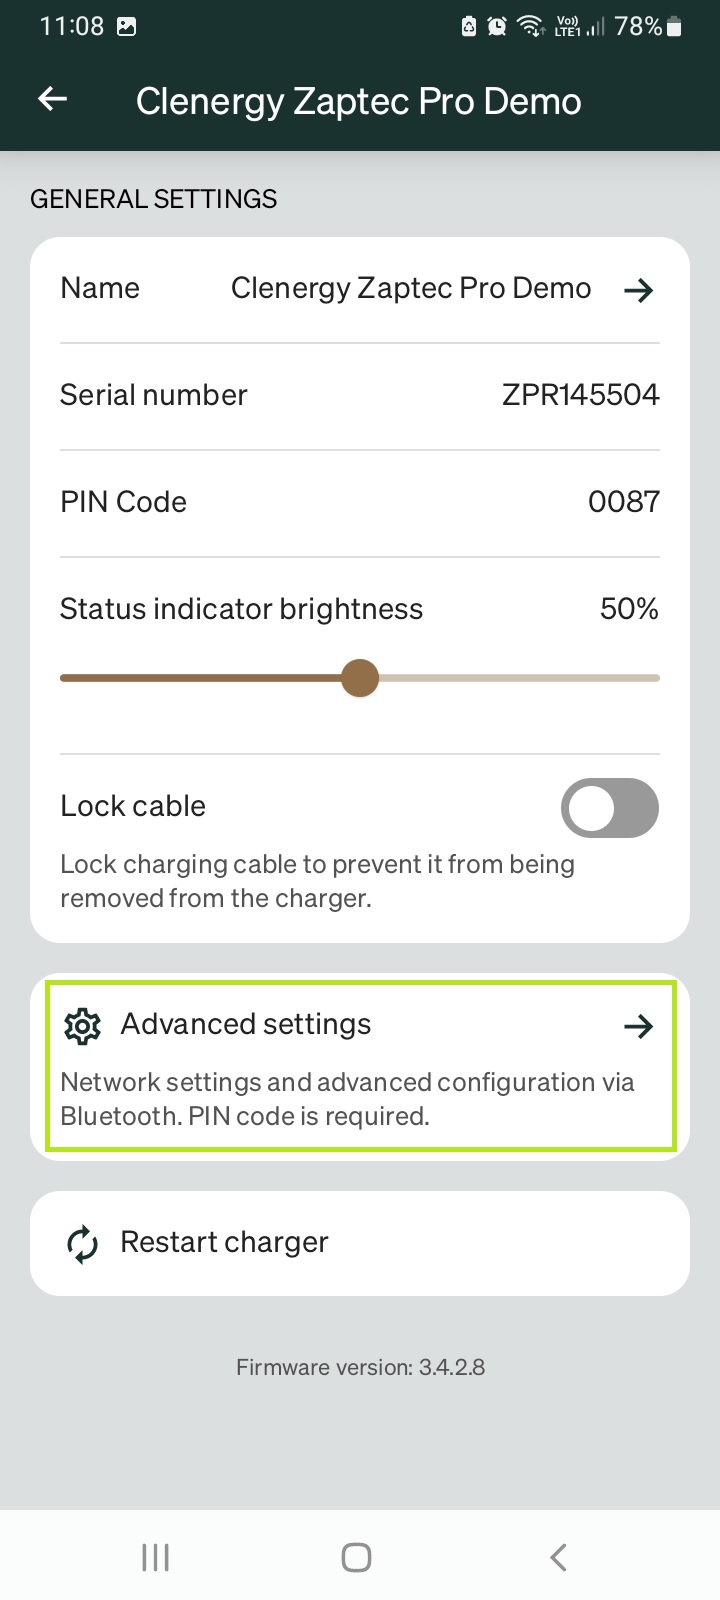
- Select Advanced settings to proceed.
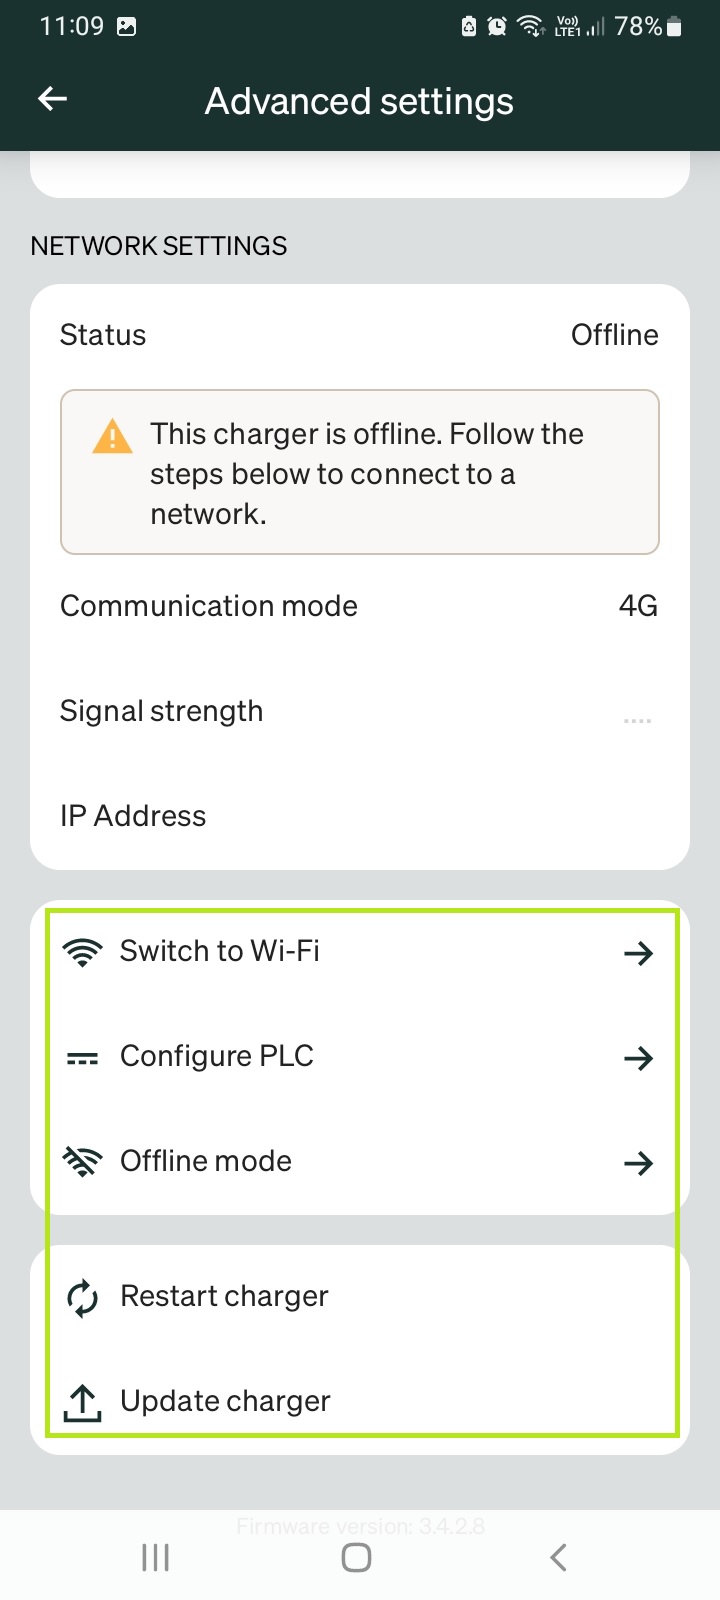
- Scroll down and configure your network settings as required and update the firmware if needed.
If using a 4G/SIM method to connect the chargepoint, Enter the relevant details into the APN, User Name and Password fields.
Please note: If using a Clenergy EV-supplied SIM card for the network connection please refer to the details below:- Conexa SIM
APN: eapn1.net
Password/username - clenergy - KPN SIM
APN: WLAPN.com
Password/username - clenergy - Emnify SIM
APN: em
No username/password required
- Conexa SIM
- When completed, select Restart charger to complete a power cycle which will complete the onboarding process.