📱 To download a mobile friendly version of this charger's onboarding guide, please click here.
- Plug your laptop into the configuration port via a USB to micro-USB cable.
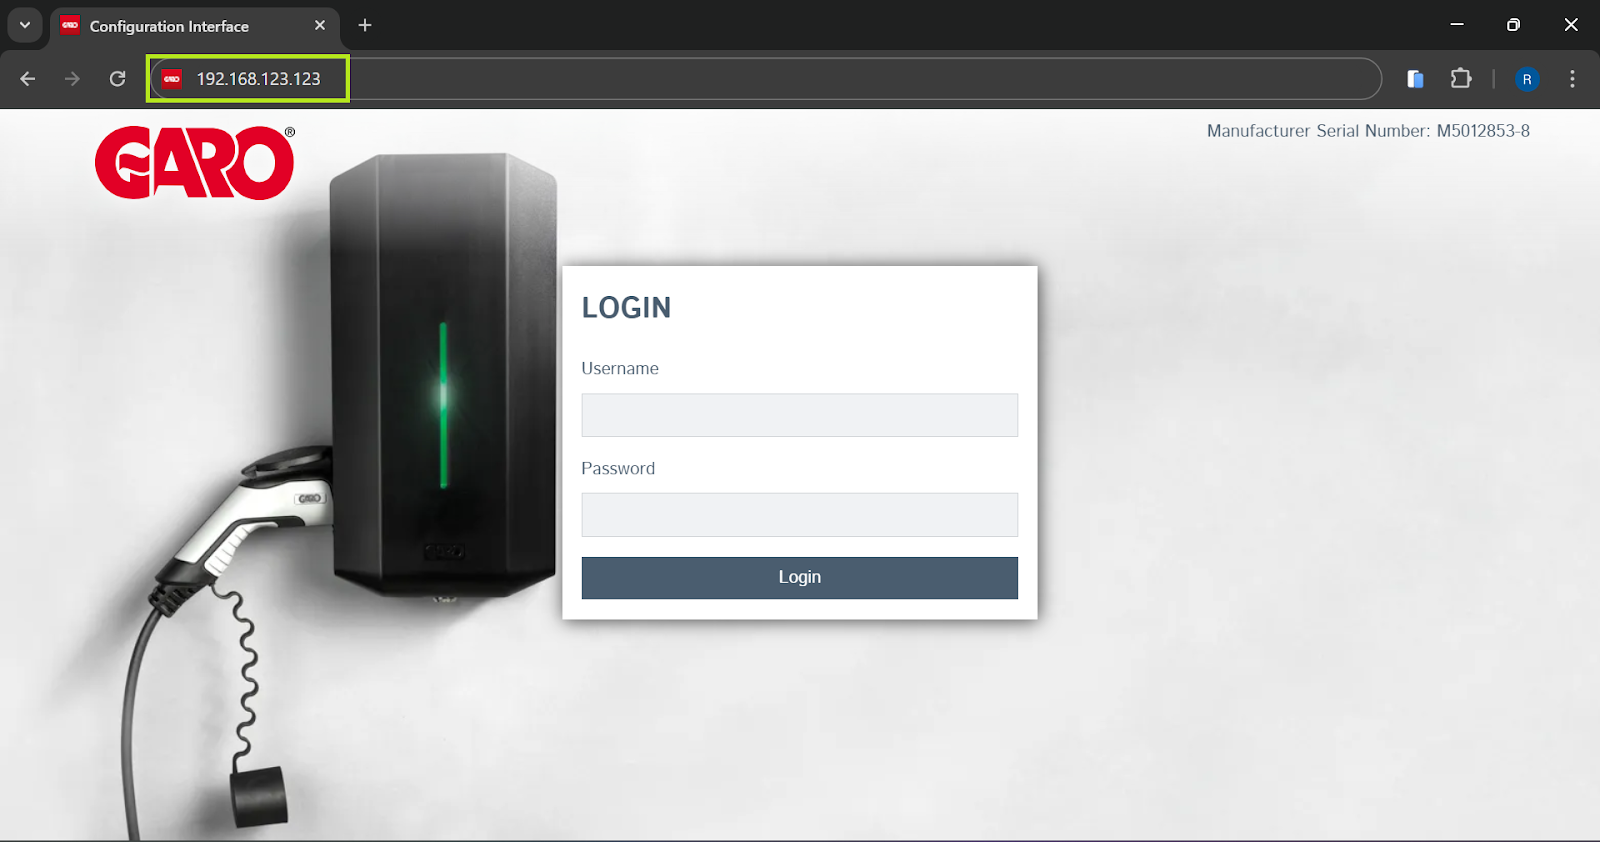
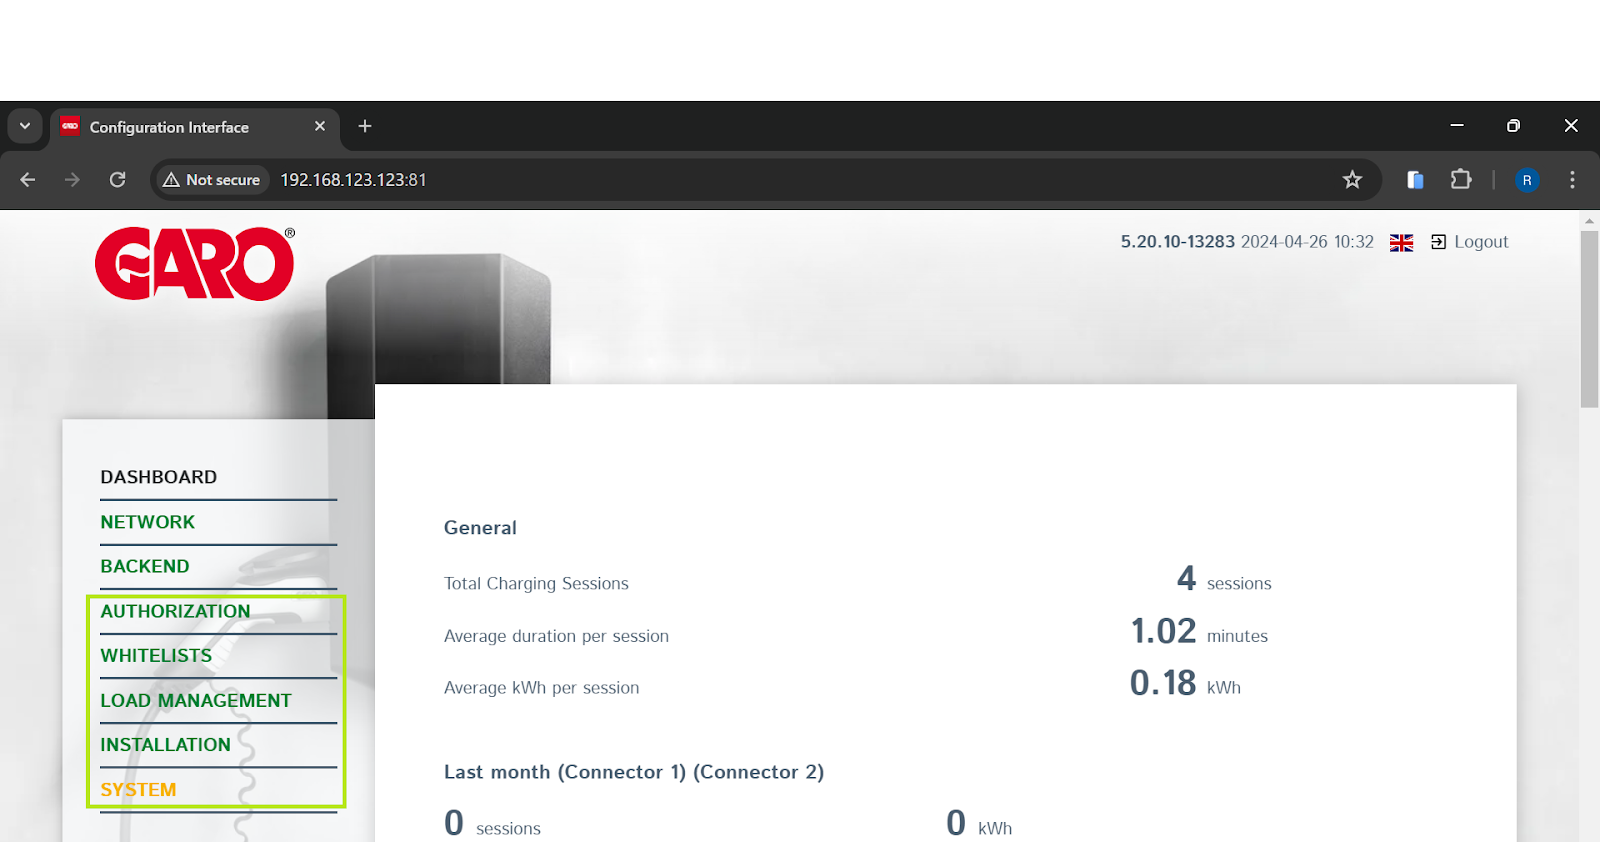
- Open a web browser such as Google Chrome and enter the following IP address into the search bar to navigate to the Garo Configuration interface: 192.168.123.123.
- Enter the following credentials to log in to the Garo Configuration interface:Username: operator
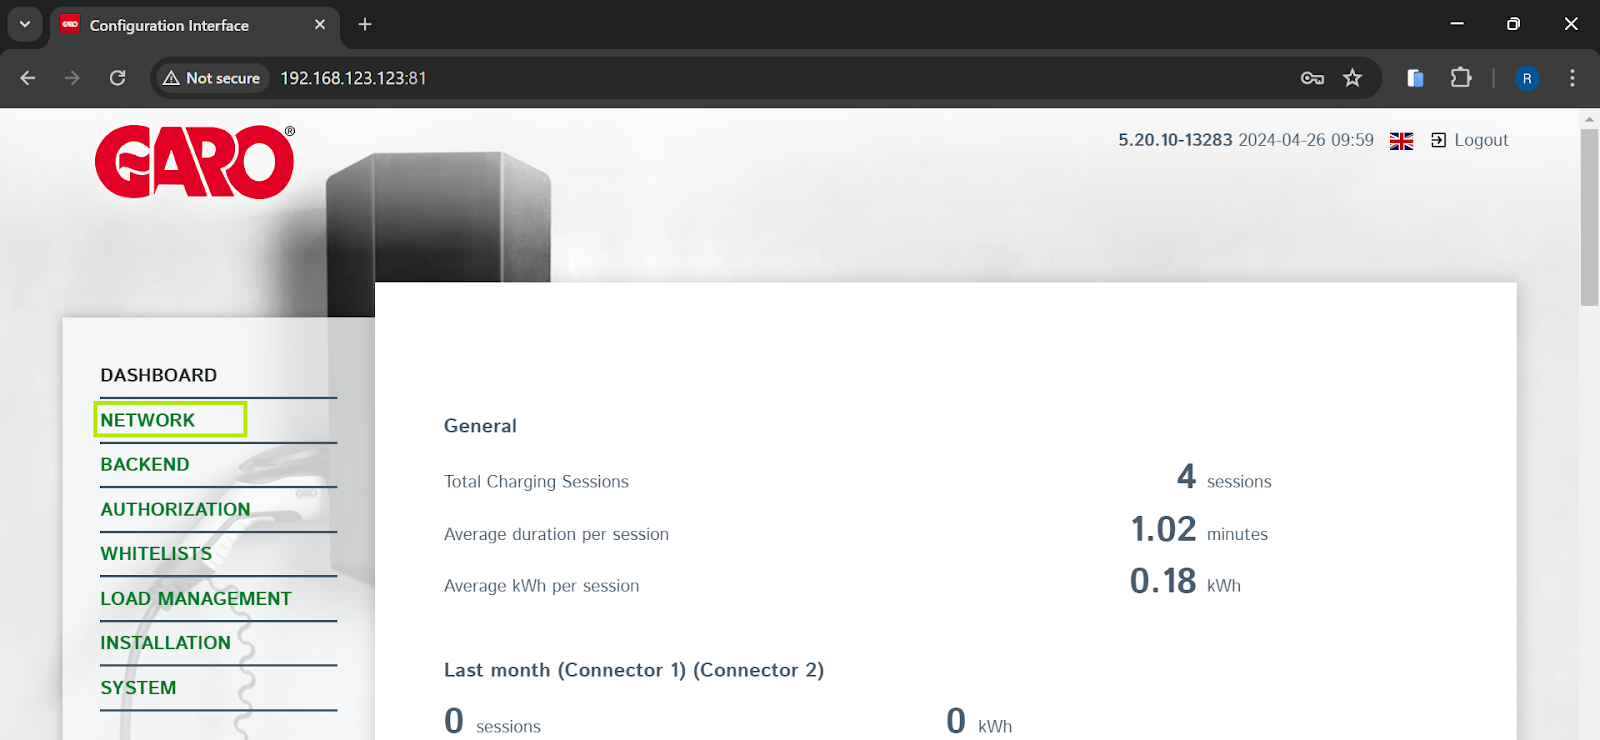
Password: cherry_zone - Select Network from the menu.
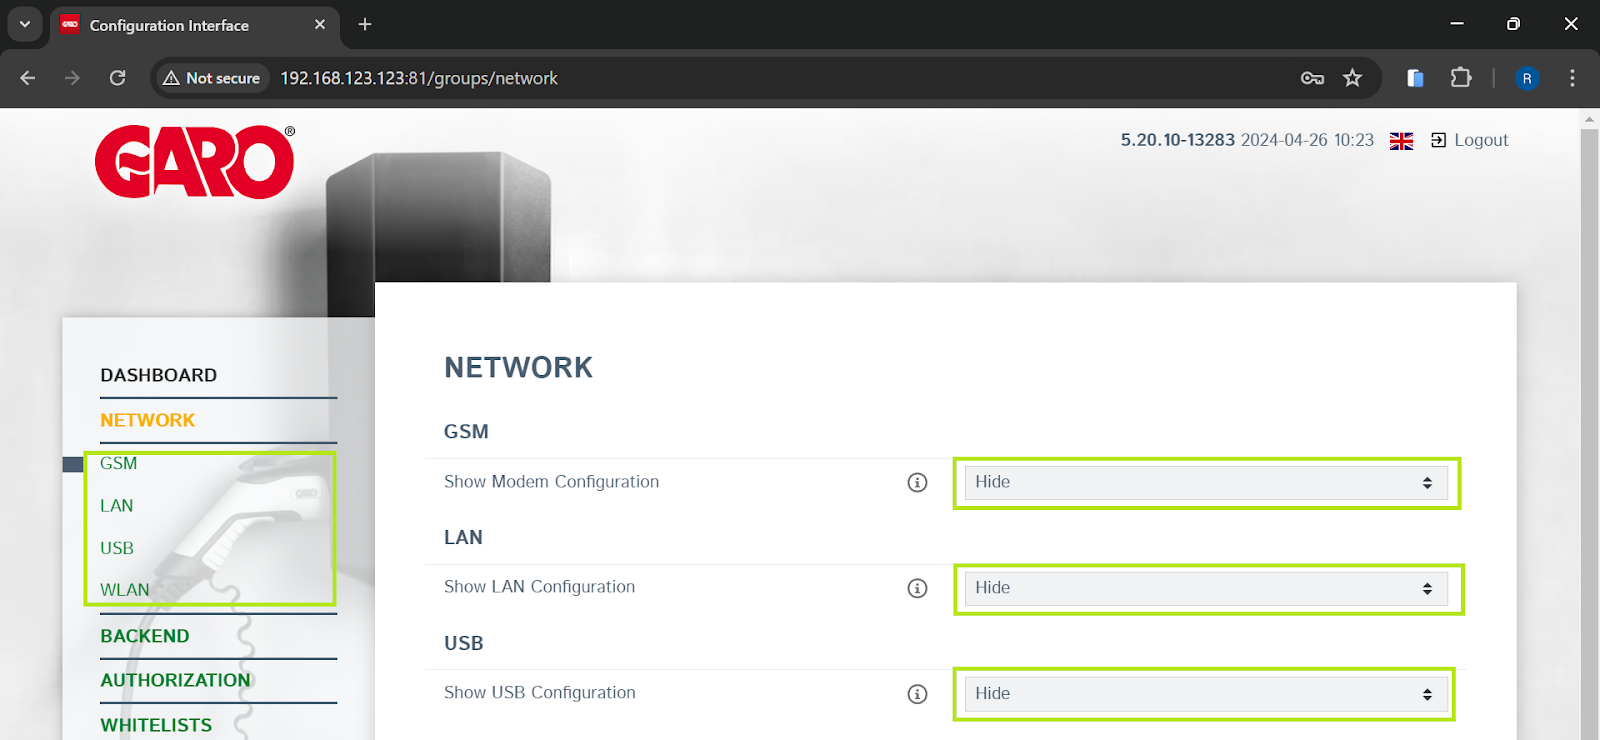
- Select the preferred method of network connection from the menu and open the configuration options by selecting Show from the relevant drop down menu. Then configure the network connection as required using the relevant credentials. Save and restart the charger if prompted.
Please note: If connecting using the GSM option and a Clenergy EV-supplied SIM card, connect using the following details; ensuring the correct details are used for the relevant SIM manufacturer:
Conexa SIM APN: eapn1.net
KPN SIM APN: wlapn.com
Password/Username (for both suppliers): clenergy
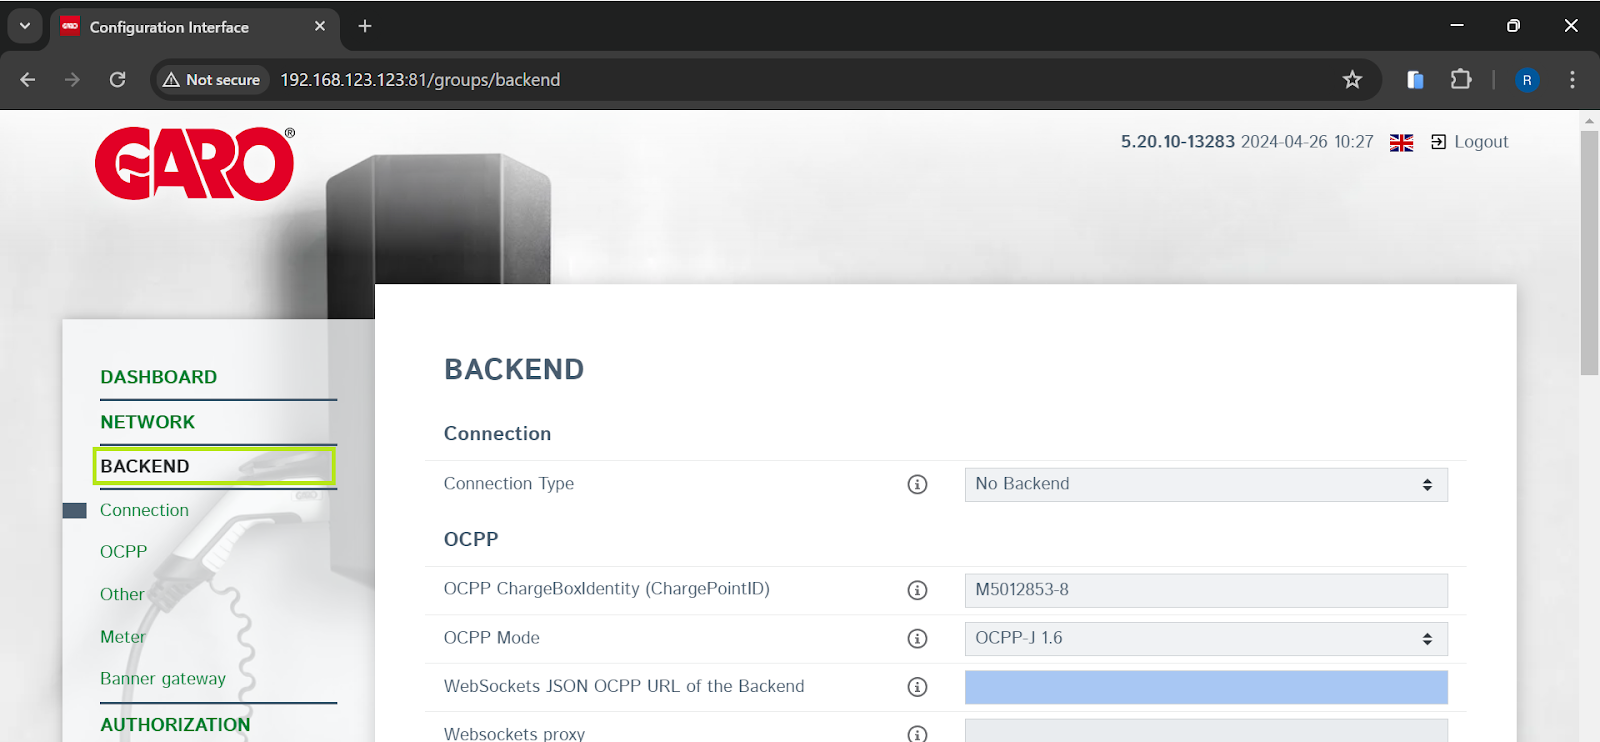
In the event a 3rd party SIM card is being used, please refer to the supplier or manufacturer for the correct details. - Select Backend from the menu.
- Select the network connection method that the charge point is to use from the Connection Type drop-down menu, then enter the following URL into the Websockets JSON OCPP URL of the Backend field: wss://clenergy.online:8081. Save and restart the charge point if prompted.
- Use the relevant menus to configure any additional settings or update the firmware if required for your installation. Save and restart the charger to complete the process.