- Ensure an Ethernet cable is directly connected to your device (image 1.a) or in the event of your device not possessing an Ethernet port, via an Ethernet to USB adapter (image 1.b).
1.a
1.b
- Access your connection configuration by right-clicking on the icon in the bottom right corner of your desktop display.
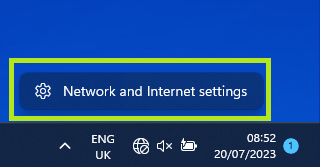
- Click on the Network and Internet settings option that will now be displayed.
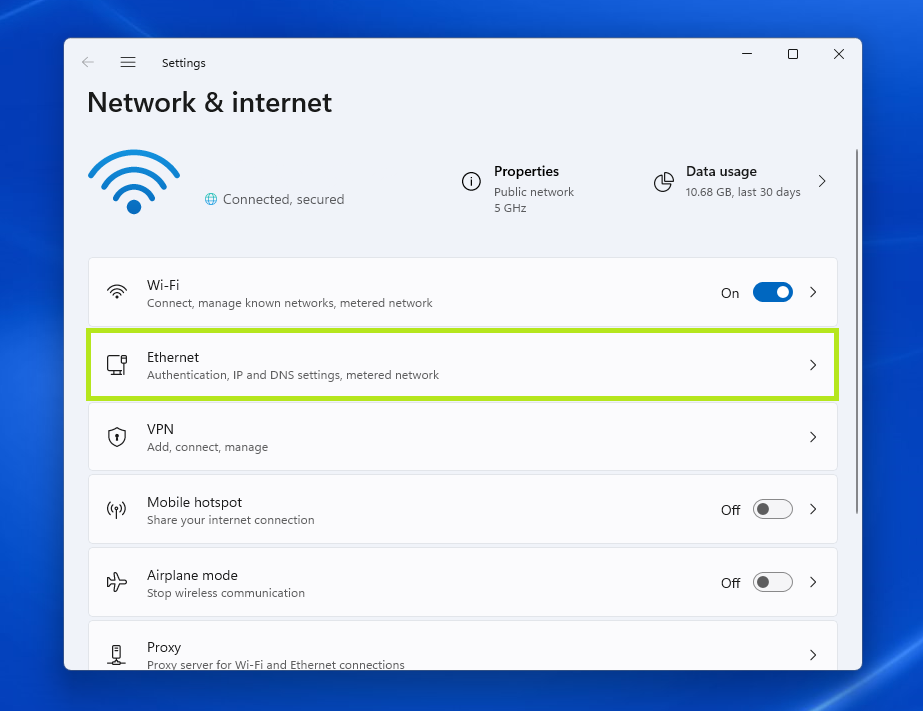
- Select the Ethernet menu that will now be displayed in the settings menu.
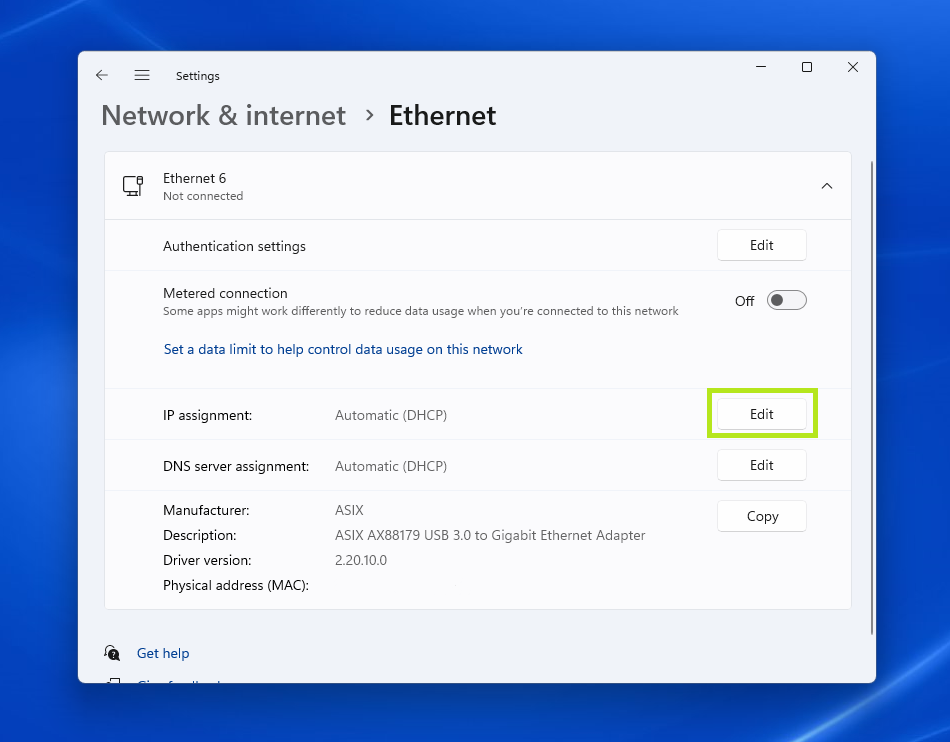
- Click on the Edit button highlighted
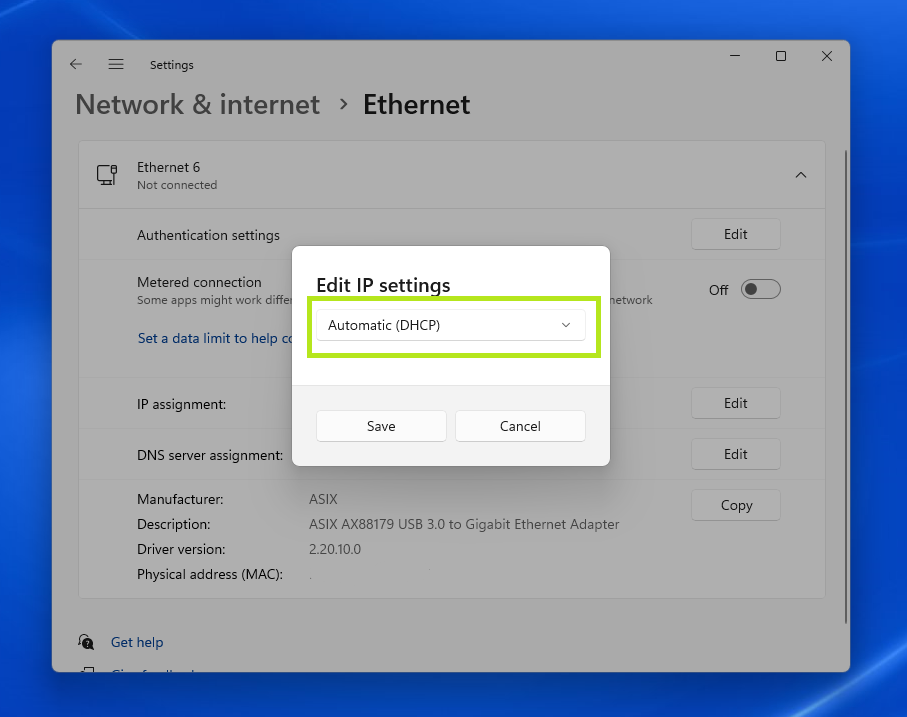
- Click on the Automatic DHCP option that is now displayed
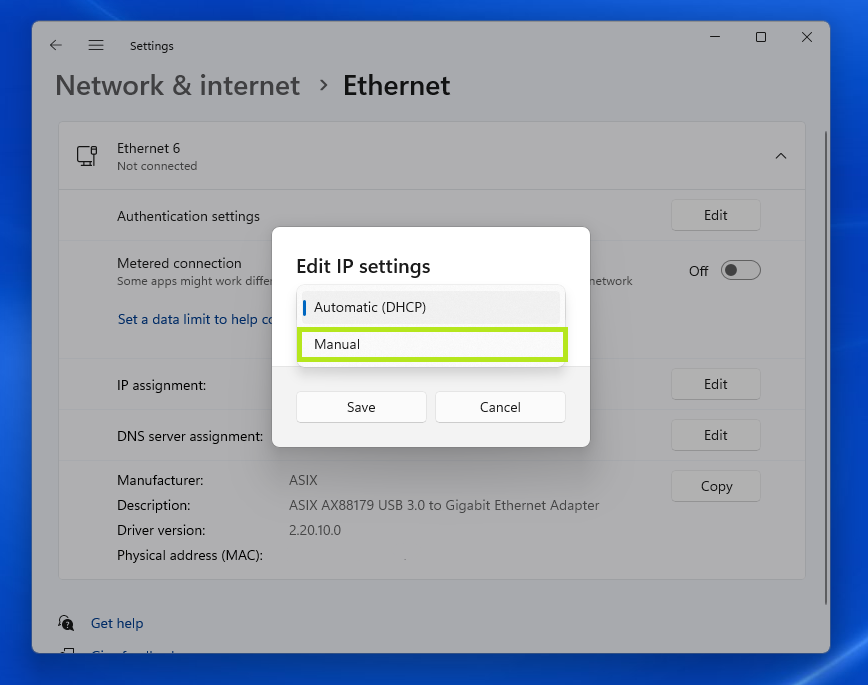
- Select Manual from the drop down menu.
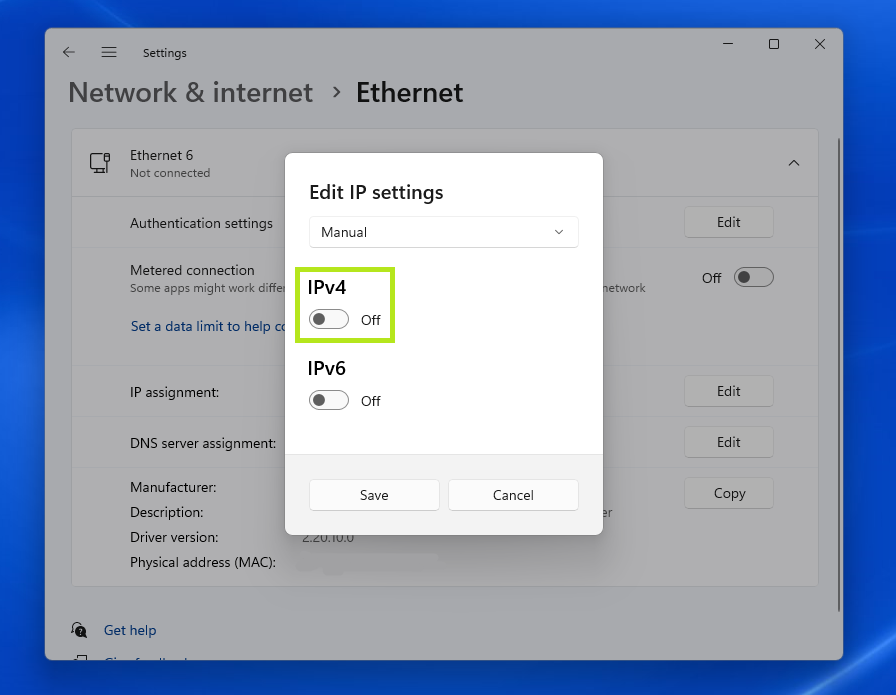
- Toggle the IPv4 option on.
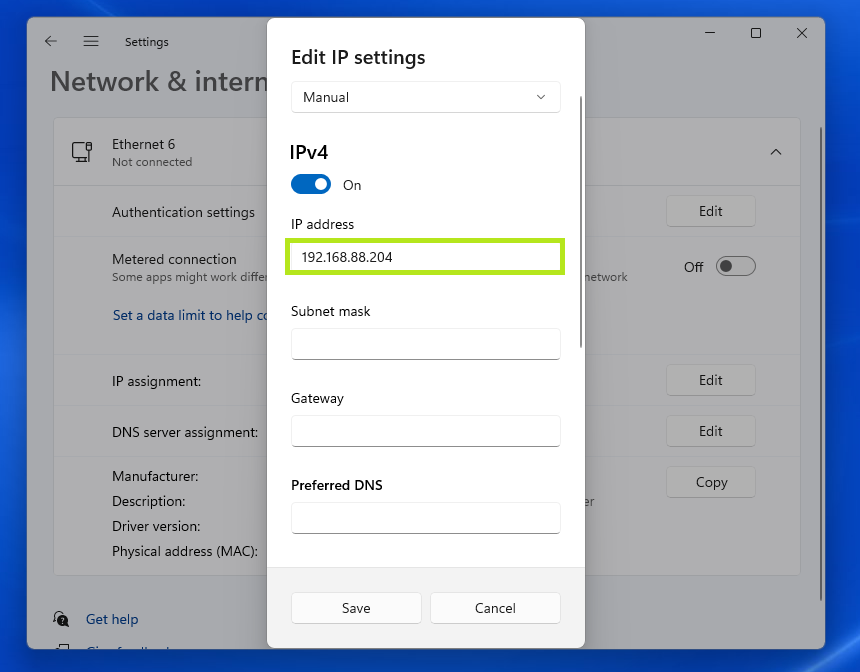
- Set the IP address of your PC/Laptop to the same range as the charger, being mindful to ensure the last set of numbers are different from the device you are connecting to in order to prevent an IP address conflict. The IP address of the example device we are connecting to ends in 206 so we have set our IP to 204 in order to ensure we are on the same range. (For example Charger IP: 192.168.88.206 = Laptop IP: 192.168.88.204)
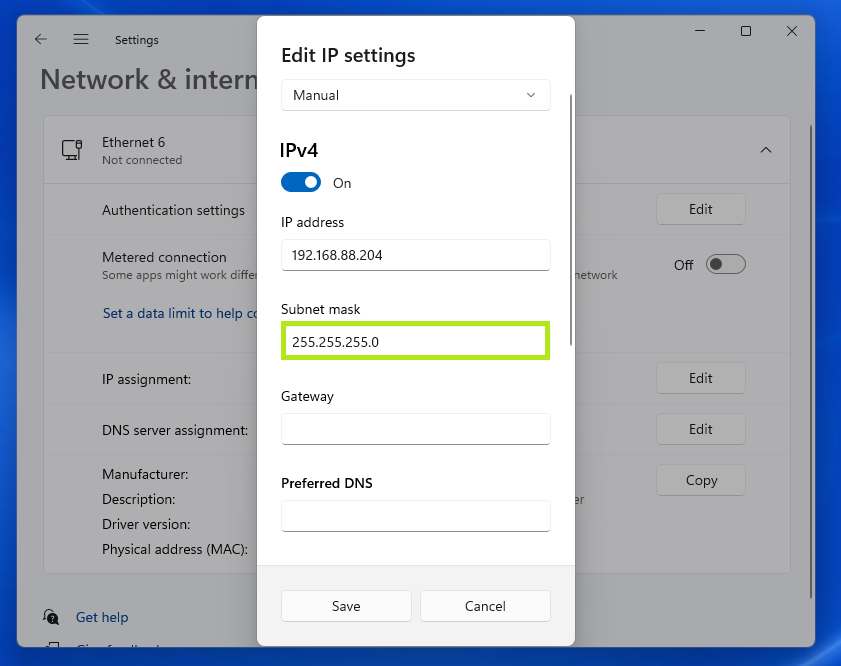
- In the Subnet mask field, enter 255.255.255.0. This will almost always remain unaltered.
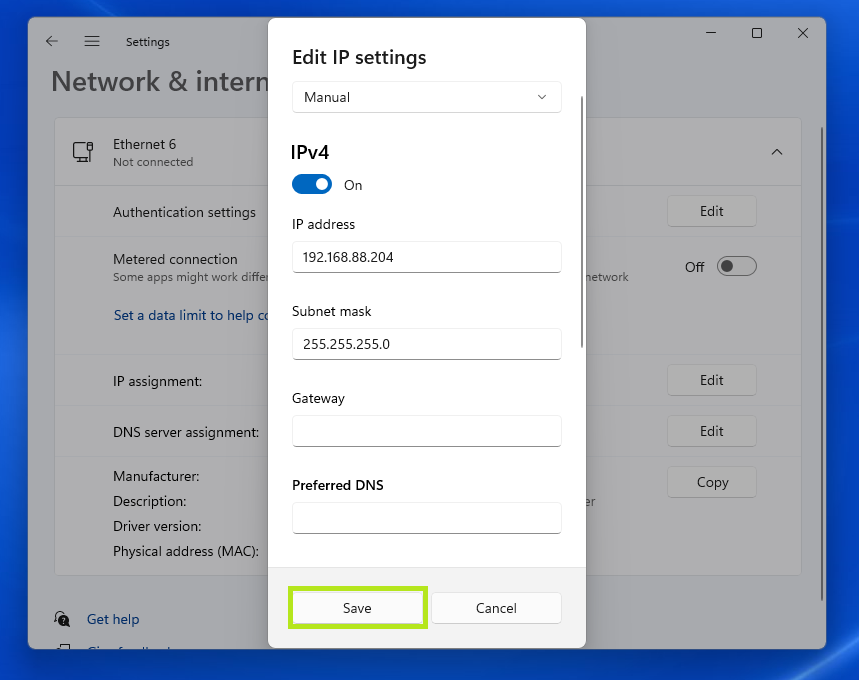
- Press Save to complete the process. Your PC/Laptop should now be able to locate other devices/chargers/LMS systems within the same IP range.
English